Rotary Motor Brush
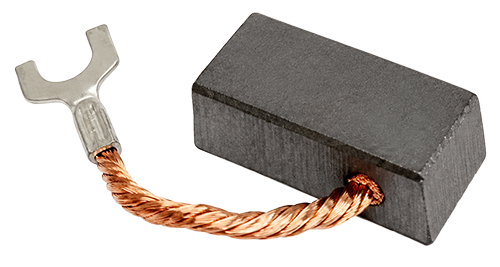
The rotary motor has two brushes positioned on opposite sides of the motor. With use, the brushes wear down. This procedure explains how to inspect the brushes and replace them if needed.
Tools Required
Large slotted screwdriver
Phillips screwdriver
Small screwdriver
Long-nose needle pliers
Ruler or tape measure
Parts Required
Two motor brushes (Bodine 42A brush, Part # 49201032)
Remove Brush Cover
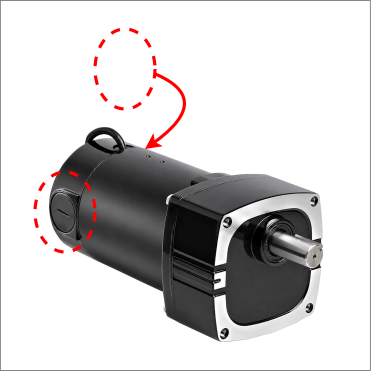
The motor has two brush covers on opposite sides of the motor.
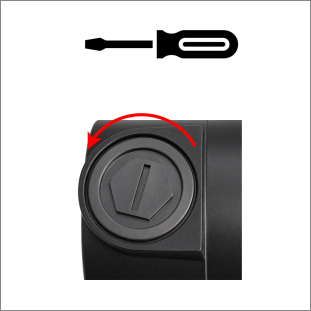
Use a large slotted screwdriver to open the brush cover.
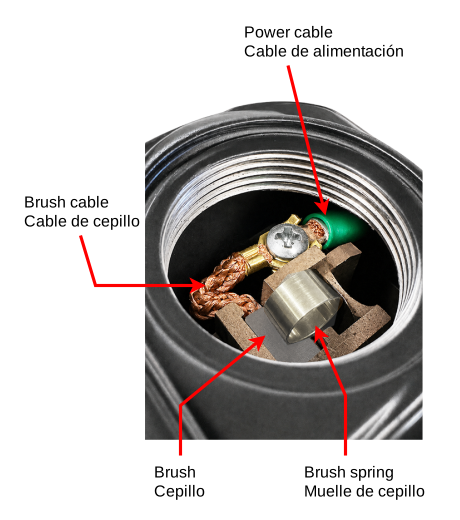
The brush assembly is now visible inside the motor housing.
Remove Brush Spring
The image below shows a cross section of the brush inside the motor housing. The brush is held in place by the brush spring.
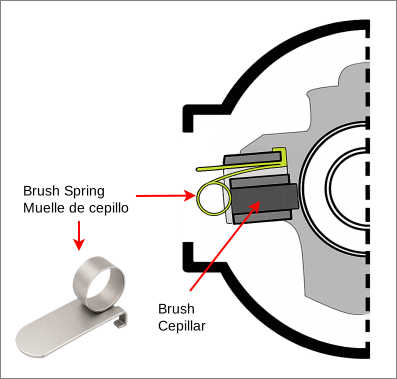
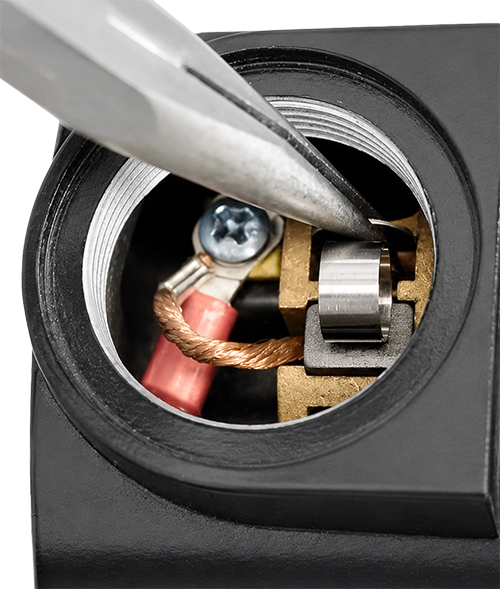
Grasp the flat tab on the spring with a long-nose plier.
Press the spring inward to disengage the hook from the bottom edge, then remove the spring.

Remove the Brush
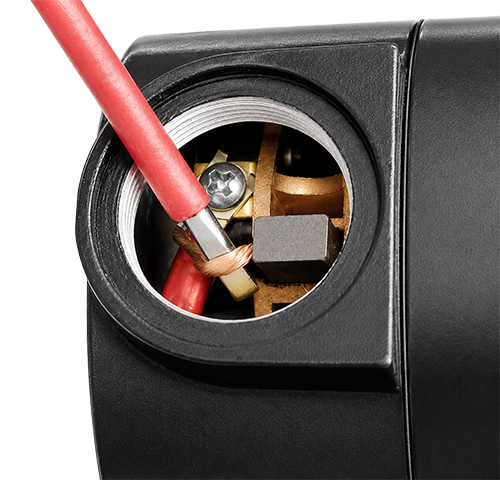
To remove the brush, insert a small screwdriver under the brush wire. Carefully lift the brush out.
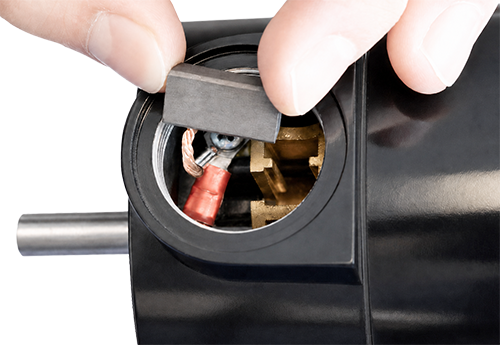
The image below shows the brush removed from the brush box.
Measure Brush Length
Measure the brush length from the wire insert to the tip of the brush.
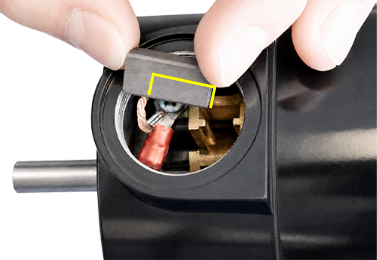
Replace Brush
Using a Phillips screwdriver, loosen the screw that holds the brush wire by 2-3 turns or until the brush cable connector is released.
Use a long-nose plier to slide the brush wire terminal out from under the screw and remove the worn brush.
Using a vacuum with a small nozzle carefully vacuum out any carbon dust particles.
Insert the cable connector of the new brush under the screw and tighten the screw.
Position the brush so that the wire attached to the brush aligns with the slot in the brush box and can feed into the brush box slot as the brush wears down.
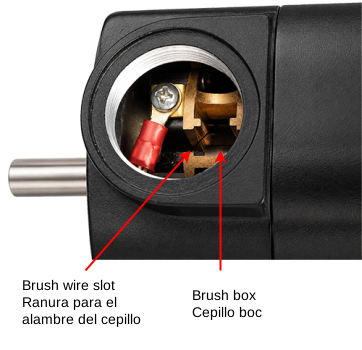
Slide the brush into the brush box, ensuring the wire aligns with the wire slot.
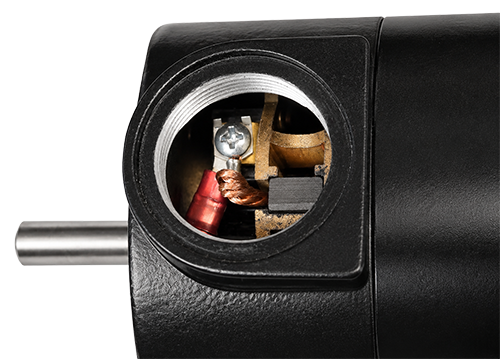
Place the brush cover back onto the brush opening.
Repeat the steps above to inspect the brush on the opposite side of the motor.